
You need to move, clean, or upgrade your office chair.
That brings up how to disassemble an office chair.
The process feels like a small project anyone can master.
As of 2026, most chairs still use a 5-star base and a pneumatic gas lift cylinder.
A simple set of Allen wrenches and a screwdriver are all you need for basic work.
Keep a soft surface under the chair and you’ll avoid scratches, then you’re ready for the quick method ahead.
How to Disassemble an Office Chair
The process of how to disassemble an office chair starts by flipping it upside down on a soft surface.
Pull each caster wheel straight up to remove them.
Loosen the gas lift retaining clip, then tap the cylinder out.
Unscrew the seat mechanism bolts and keep them aside.
Disconnect the backrest and armrests with the proper screwdriver or Allen key.
Label parts with tape for easy reassembly later.
Problem / Pain Point
Disassembling an office chair often brings unexpected headaches.
Stuck casters can resist even a firm pull, leaving you frustrated.
Missing clips or stripped screws turn a simple teardown into a mini surgery.
- Caster wheels that won’t pop out, often due to worn axles or debris.
- Stripped or rounded screw heads, making removal tricky.
- Seized gas lift cylinder that resists removal.
- Hidden bolts concealed under plastic caps or upholstery.
- Tool incompatibility, such as using the wrong Allen size.
- Safety risks, like pinching fingers or gas cylinder rupture.
For similar DIY steps, check out our DIY rocking chair instructions for additional tips.
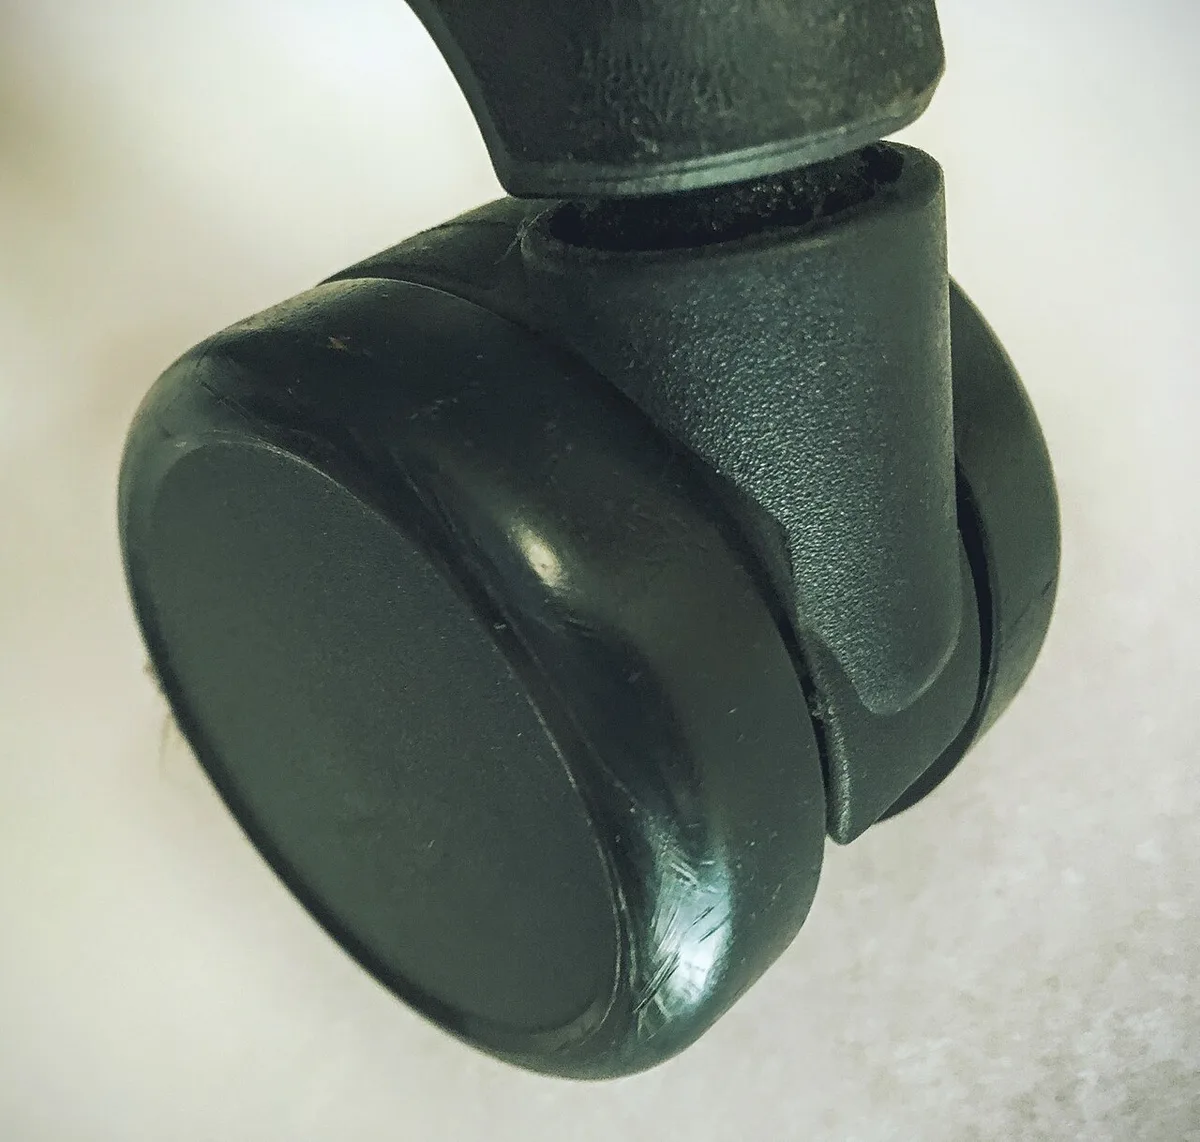
Image source: Wikimedia Commons / Mgkay (CC BY-SA)
Core Explanation / How It Works
Office chairs are built around a few core mechanisms that work together.
The base supports everything, while casters let the chair move.
The gas lift cylinder controls height, and the seat mechanism handles tilt and recline.
| Component | Primary Function | Typical Material / Size |
|---|---|---|
| Caster wheels | Provide mobility | Polyurethane, 50 mm diameter |
| 5‑star base | Supports chair stability | Steel, 400 lb load rating |
| Gas lift cylinder | Controls height adjustment | Aluminum, 350 psi pressure |
| Seat mechanism | Enables tilt and recline | Nylon/steel, 5° tilt range |
| Backrest | Supports upper torso | Steel frame, 15‑20 in height |
| Armrests | Holds forearms | Aluminum, 3‑5 in width |
If you run into stripped screws, our tool compatibility guide offers troubleshooting advice.
Features / Components / What's Inside
Every office chair is made of several distinct parts that fit together like a puzzle.
Knowing each piece helps you handle disassembly without guesswork.
Below you’ll find a quick inventory of what’s inside.
- Caster wheels, usually polyurethane or nylon, 50 mm diameter, attach via axle, pull straight up.
- 5‑star base, steel construction, supports caster assembly, often rated 400 lb.
- Gas lift cylinder, aluminum housing, 350 psi pressure, raises and lowers seat height.
- Seat mechanism, nylon/steel components, controls tilt angle and lock position.
- Backrest, steel frame, adjustable height 15‑20 in, often removable with two bolts.
- Armrests, aluminum or plastic, bolt‑on style, width 3‑5 in, may include pillow attachments.
- Upholstery, fabric or mesh, covers seat and back, snaps or is sewn on.
- Plastic caps and clips, conceal hidden screws, prevent debris entry.
Want to compare this chair to a recliner? See our recliner buying advice.
Benefits & Drawbreaks / Pros and Cons
Taking apart an office chair offers clear advantages for most users.
The process also reveals some downsides that require planning.
Weighing both sides helps you decide if DIY is the right move.
Pros
- Cost savings, replace worn parts instead of buying a new chair.
- Extended lifespan, regular cleaning and part swaps keep a chair usable for years.
- Customization, upgrade casters to smoother rolling or add ergonomic backrests.
- Space efficiency, disassembled chairs fit in compact movers’ boxes.
Cons
- Time investment, may take 30‑60 minutes depending on condition.
- Risk of damage, stripped screws or broken plastic can increase repair cost.
- Tool requirement, you need a basic Allen set and screwdriver collection.
- Safety concern, gas lift can release suddenly if handled incorrectly.
Ready to extend your seat life? Our article on chair lifespan signs provides tips.
FAQs: Quick Answers to Common Disassembly Questions
How long does it take to disassemble an office chair?
Most people finish in 15 to 30 minutes with basic tools.
Complex mechanisms or stuck parts can push that to 45 minutes.
Plan extra time if you are labeling parts for the first time.
What tools are absolutely necessary?
A 4 mm and 5 mm Allen wrench plus a Phillips screwdriver cover 90 percent of chairs.
A socket wrench helps with tight base bolts.
Needle‑nose pliers make clip removal easier.
Can I reuse the gas lift cylinder after removal?
Yes, if the cylinder shows no corrosion and holds pressure.
Test by extending it fully and checking for slow sink.
Replace it if the chair drops on its own within a few minutes.
Do I need to detach the upholstery to reach hidden bolts?
Rarely; most bolts sit under plastic caps that pop off with a flat blade.
If fabric covers a bolt head, gently pull the edge back and tuck it after.
Avoid cutting or stapling unless you plan a full reupholstery.
Will disassembly void the manufacturer warranty?
Only if you damage components or remove tamper‑evident seals.
Keep all original hardware and follow the manual’s torque specs.
Document the process with photos for any future claim.
What is the safest way to handle the gas lift?
Wear safety glasses and keep the cylinder pointed away from your face.
Never heat or puncture the cylinder body.
Dispose of a faulty unit per local hazardous‑waste rules.


