
Figuring out what is chair rail height comes down to one question: where does the molding sit on the wall so the room looks balanced? Most guides hand you a single number and move on. That number rarely fits every room.
A 9-foot ceiling and an 8-foot ceiling want different answers.
The traditional answer sits between 32 and 36 inches above the finished floor. That range traces back to dining chair backs, which typically top out around 34 inches. Trim manufacturers and carpentry guidance lean on proportional formulas rather than one flat number.
Here's how to pick the right one for your space.
What Is Chair Rail Height
Chair rail height measures floor to the top edge of the trim. Most rooms land between 32 and 36 inches. A common rule is one-third of your ceiling height.
Tall rooms usually need a higher rail. The goal is protecting walls and pleasing the eye.
Problem: Chair Rail Height Mismatch with Ceiling Proportions
Most chair rail mistakes happen before a single nail goes in. Homeowners grab a number from a blog, mark it, and discover too late that the line sits wrong against the window sill or reads too low for a tall room. Height is a proportion decision, not a fixed spec.
Here's the if/then logic our research keeps landing on:
- If your ceiling is 8 feet, aim for 32 inches.
- If your ceiling is 9 feet, aim for 36 inches.
- If your ceiling is 10 feet or more, aim for 38 to 42 inches and stop there.
- If a window sill lands within 2 to 3 inches of your line, shift the rail to clear it.
- If your baseboard is unusually tall, raise the rail so the band between them doesn't look pinched.
- If the room is long and narrow, a slightly lower rail makes it feel wider.
The window conflict is the one people miss most. A rail that crashes into a window apron looks like a mistake, even when the height math was right. Shift the line so it sits clearly above or clearly below that sill.
If you want the underlying measurements behind these numbers, our breakdown of where the standard figures come from walks through them.
Baseboard height matters just as much. Roughly 30 inches of bare wall between the top of the baseboard and the bottom of the rail reads as balanced. Cram that gap and the whole wall feels top-heavy.
How Chair Rail Height Scales to Ceiling Height & Room Proportion
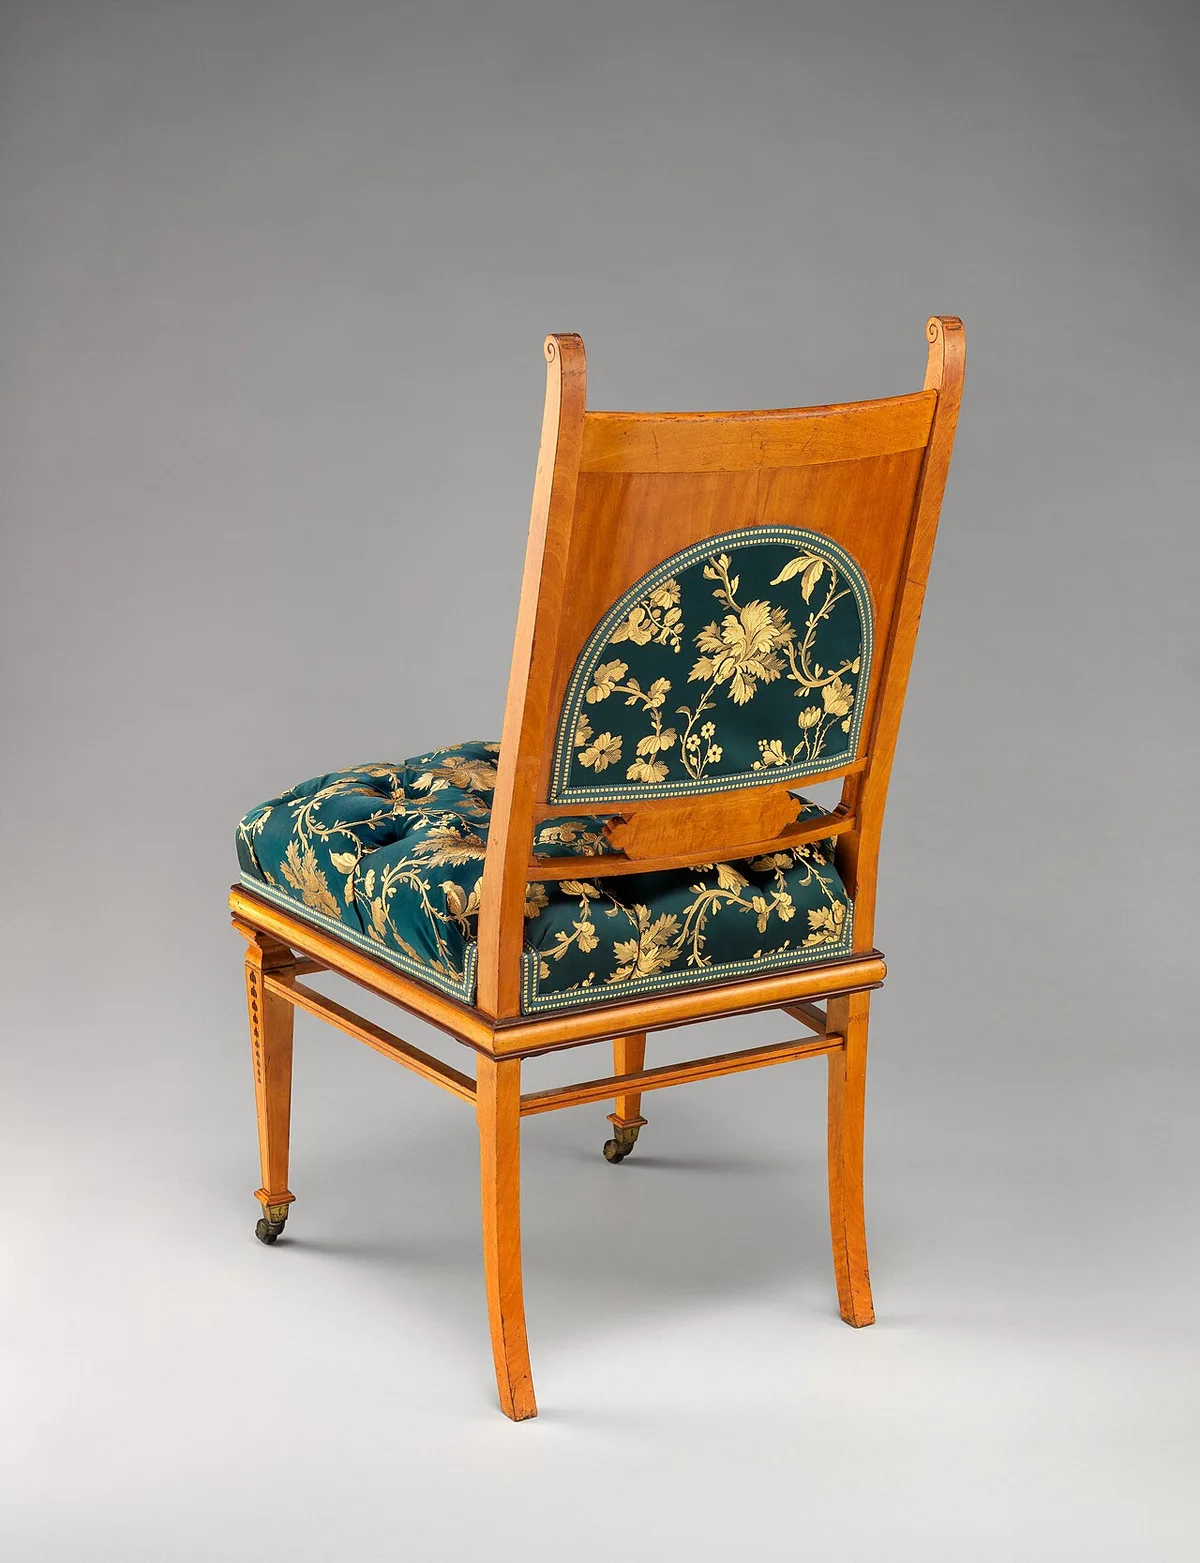
Image source: Wikimedia Commons / George A. Schastey / George A. Schastey
Three rules do most of the work here: the one-third rule, the two-fifths rule, and the chair-back rule.
The one-third rule is the workhorse. Divide your ceiling height by three. An 8-foot ceiling gives you 32 inches, which is why that number shows up in so many older homes.
It's simple, and it scales.
The two-fifths rule handles taller spaces. Multiply ceiling height by 0.4. A 10-foot ceiling gives 48 inches, which is usually too high.
Cap it around 42 inches unless you're building a full wainscot panel below it.
The chair-back rule keeps the molding functional. A chair rail exists to stop chair backs from gouging drywall. Dining chairs typically run 33 to 36 inches tall at the back.
Set the rail at or just above that and it actually protects the wall. Our guide to standard seat and back heights gives you real numbers to check against.
| Ceiling height | Rail height (AFF) | Notes |
|---|---|---|
| 8 ft (96 in) | 32 in | Classic placement, works almost anywhere |
| 9 ft (108 in) | 36 in | The most common modern fit |
| 10 ft (120 in) | 38 to 42 in | Pair with wainscot for balance |
Height is measured above finished floor, usually written AFF on trim drawings. That means floor covering included, so measure after the rug or hardwood is down, not before.
Step-by-Step: Measuring, Marking, and Installing Chair Rail
This is a one-weekend project for most rooms. Work in this order and you'll avoid the redo.
- Decide the height. Run the rules above, then check the window sills and baseboard before you commit.
- Mark a level line. Use a laser level or a 4-foot level with a chalk line. Pencil marks alone drift on long walls.
- Find the studs. Mark stud centers with a stud finder or a magnet. Transfer those marks to the wall above your line.
- Cut the joints. Miter outside corners at 45 degrees. Cope inside corners rather than mitering them, since walls are rarely square.
- Dry-fit everything. Tape pieces in place and check the line before any adhesive touches the wall.
- Glue and nail. Run construction adhesive on the back, then set 15-gauge or 2-inch finish nails into the studs.
- Fill and finish. Countersink the nails, caulk the top and bottom edges, then prime and paint.
For deeper detail on joint work and layout, the full installation walkthrough covers the cuts step by step. Budget 3 to 6 hours for a 12 by 12 room if you're doing it yourself.
As of 2026, primed pine runs about $1.50 to $3 per linear foot at most home centers. Poplar and oak cost more, MDF costs less.
Common Mistakes: Height Errors, Corner Coping, and Material Failures
The errors that show up again and again fall into three buckets: bad height, bad joints, and bad material choices.
Height mistakes are the most visible. Setting the rail on a number borrowed from another house ignores your ceiling. Marking from the subfloor instead of the finished floor throws the line off by the thickness of your flooring.
And leveling against a sloped ceiling instead of the floor makes the rail look crooked from across the room.
Joint mistakes come next. Mitering inside corners on a wall that isn't square leaves a visible gap. Cope the inside corners instead.
Skipping the dry fit means you find the problem after the adhesive sets. If you're working over old trim, our notes on pulling old trim off cleanly help you avoid tearing the drywall paper.
Material failures are quieter but costly. Standard MDF swells when it sits near a wet floor, so keep it out of bathrooms and laundry rooms. Solid wood moves with humidity and can open a paint seam at the caulk line.
One serious warning: if your home was built before 1978 and you're cutting into painted trim, disturbed paint may contain lead. Follow the EPA's lead-safe renovation guidance before you sand or demo anything.
Best Use Cases: Who Benefits Most From Chair Rail Height
Chair rail earns its keep in more rooms than people expect. The height just shifts with the job.
Dining rooms. This is the classic application. Rails sit at 32 to 36 inches to catch chair backs, and dining side chairs usually fall right in that band. Get the measurement right and the wall stays clean for years.
Hallways and stairs. A slightly higher rail, around 36 inches, protects plaster in tight traffic zones. Commercial corridors often go higher still, and public buildings follow ADA protrusion limits for anything sticking out from the wall.
Kids' rooms and playrooms. Set the rail at chair-back height and it doubles as a bumper for small furniture and toys. It also gives you a clean paint line for a two-tone wall.
High-ceiling living rooms. A rail around 40 inches visually lowers the ceiling and makes a big room feel intentional rather than empty. Add wainscot below and the effect doubles.
Historic homes. Match the existing dado height instead of applying a modern rule. Older homes were often built to the one-third rule already, so measure what's there before you cut.
If you're unsure whether your furniture will clear the line, spend ten minutes on getting accurate chair dimensions first. That one step prevents most height regrets.
Code, Compliance & Historic Guidelines: EPA, ADA & District Rules
Most residential installs never trigger a permit. Three exceptions change that.
If your home was built before 1978 and you disturb more than six square feet of painted surface the EPA Renovation Repair and Painting rule applies. You need a certified renovator or you follow lead-safe work practices yourself. The rule covers sanding cutting or demo of existing trim.
See the EPA lead page for the current requirements.
If the project touches a commercial corridor or a multi-family common area ADA protrusion limits apply. Objects between 27 and 80 inches above the floor cannot stick out more than four inches. Standard chair rail at 1.5 inches projection usually passes but verify the profile depth before you order.
If the property sits in a historic district or an HOA with design review the board often specifies profile height and material. Submit a drawing with the proposed rail height measured from finished floor. Many boards require wood not composite on street-facing elevations.
Check the local guidelines before you buy.
Fire-rated walls in attached garages or between units may need firestop caulk behind the rail if the trim crosses the rated assembly. That detail is rare in single-family work but common in townhomes.
Frequently Asked Questions
What is the standard chair rail height for 8 foot ceilings
Thirty-two inches above finished floor is the standard for 8 foot ceilings. It follows the one-third rule and matches most dining chair backs.
Can chair rail be installed higher than 36 inches
Yes. For 9 foot ceilings 36 inches is common. For 10 foot ceilings 38 to 42 inches works especially with wainscoting below.
Going higher than 42 inches without paneling looks odd.
Does chair rail have to match baseboard style
It does not have to match but it should relate. A simple colonial rail pairs with a colonial base. A craftsman rail pairs with a flat stock base.
Mixing ornate and minimal usually feels off.
What material is best for a bathroom chair rail
PVC polyurethane or primed finger-jointed pine with all edges sealed. Standard MDF swells at floor level in humid rooms. Avoid raw MDF in bathrooms and laundry rooms.
How do I handle a window that hits the chair rail line
Shift the rail so it sits clearly above the apron or clearly below the stool. A rail that kisses the window trim looks like a mistake. Move the line up or down two to three inches and the conflict disappears.
Is chair rail required by building code
No. Residential code does not require chair rail. It is a design and protection choice.
Commercial codes may require wall protection in corridors but that is a different product category.


