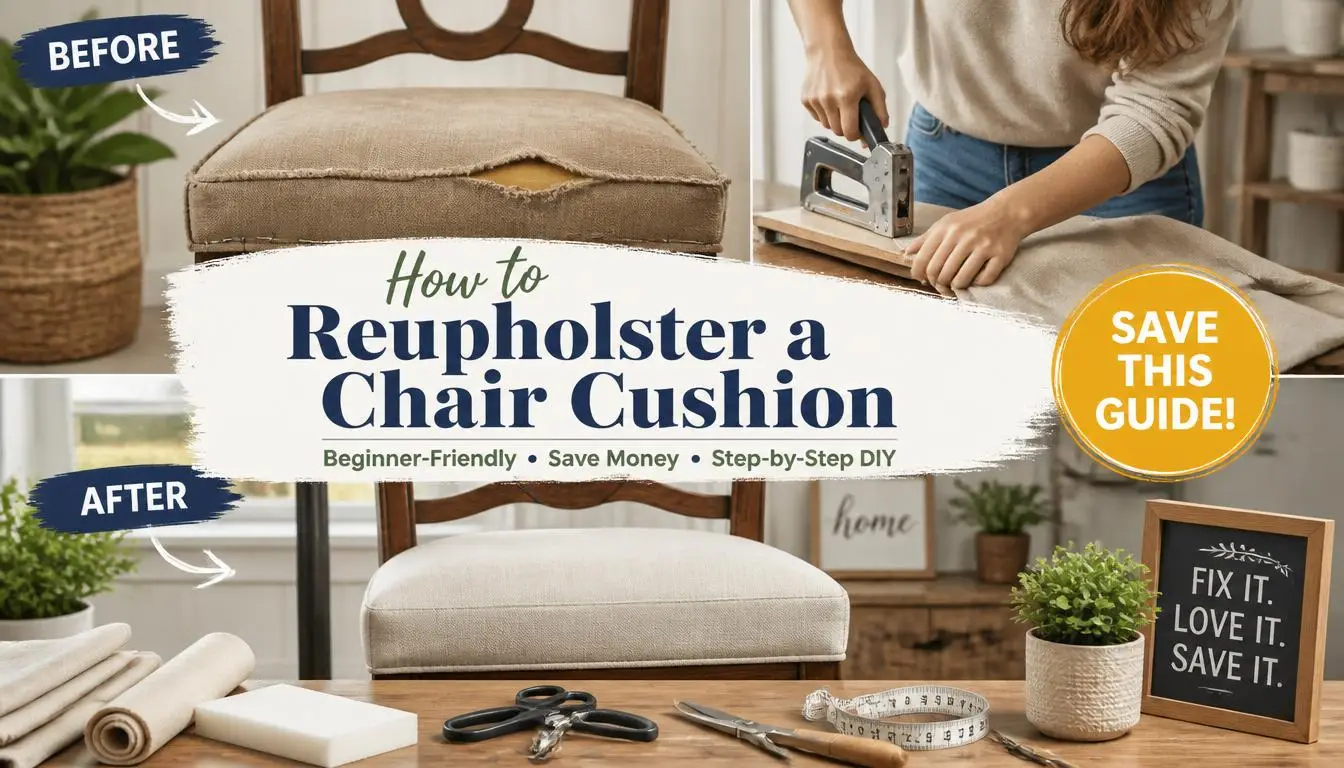
Quick Answer: Reupholstering a chair cushion involves removing the old fabric, inspecting or replacing the foam, wrapping the cushion with new upholstery fabric, and securing it
with staples before reattaching it to the chair. With the right tools and a little patience, most beginners can complete this DIY project in one to three hours while saving money and giving old furniture a fresh new look.
If you’ve ever looked at an old dining chair or favorite accent chair and thought it looked worn out, you’re not alone. The good news is that you don’t always need to replace it. In many cases, all it needs is a fresh chair cushion.
I started learning how to reupholster chair cushions after realizing how expensive new furniture had become. Instead of throwing away perfectly sturdy chairs, I decided to give them a second life. After working on several projects over the years, I discovered that reupholstering a chair cushion is much easier than most people expect.
Whether you’re updating your dining room, restoring a vintage chair, or simply changing your home décor, this guide will walk you through every step in a beginner-friendly way. I’ll also share the mistakes I made, the lessons I learned, and practical tips that help create professional-looking results.
“The details are not the details. They make the design.” — Charles Eames
What Does It Mean to Reupholster a Chair Cushion?
Reupholstering a chair cushion means replacing the fabric covering and, if necessary, the padding or foam inside the cushion. The goal is to improve both the appearance and comfort of the chair without replacing the entire piece of furniture.
Many people confuse reupholstering with recovering.
Recovering a Chair Cushion
Recovering means placing new fabric over the existing material or replacing only the outer fabric while keeping everything else the same.
Reupholstering a Chair Cushion
Reupholstering is a more complete restoration. It often includes:
- Removing the old upholstery fabric
- Removing old staples
- Checking the seat base
- Replacing worn foam
- Adding new batting if needed
- Installing fresh upholstery fabric
- Reattaching the cushion securely
If your chair cushion is sagging, stained, torn, or uncomfortable, reupholstering is usually the better choice.
Can You Reupholster a Chair Cushion Yourself?
Absolutely.
Most dining chairs, office chairs, bench cushions, and accent chairs are beginner-friendly DIY projects.
Here’s what you can expect.
| Difficulty | Beginner to Intermediate |
|---|---|
| Average Time | 1–3 Hours |
| Estimated DIY Cost | $20–$80 |
| Professional Cost | $100–$300+ |
If you’ve never used a staple gun before, don’t worry. Most people can learn the basic technique within minutes.
The key is taking your time instead of rushing.
Before You Start: Is Your Chair Worth Reupholstering?
Before buying supplies, inspect the chair carefully.
A chair is usually worth reupholstering if:
- The frame feels solid.
- The legs don’t wobble.
- The wood isn’t cracked.
- The seat base is in good condition.
- Only the fabric or cushion looks worn.
It may be better to replace the chair if:
- The frame is broken.
- The wood has severe water damage.
- Structural repairs would cost more than buying a new chair.
Tools and Materials You’ll Need
Gathering everything before you begin makes the project much easier.
Essential Tools
- Staple gun
- Staple remover
- Needle-nose pliers
- Flathead screwdriver
- Phillips screwdriver
- Fabric scissors
- Utility knife
- Measuring tape
- Pencil or tailor’s chalk
- Rubber mallet (optional)
Materials
- Upholstery fabric
- High-density upholstery foam (if replacing)
- Polyester batting
- Dust cover fabric (optional)
- Spray adhesive
- Heavy-duty upholstery staples
Having quality tools doesn’t just make the job easier—it also helps create cleaner, longer-lasting results.
How to Choose the Best Upholstery Fabric
Not every fabric works well for chair cushions.
Here’s a comparison of popular choices.
| Fabric | Durability | Best For |
|---|---|---|
| Cotton | Good | Casual dining chairs |
| Linen | Moderate | Decorative chairs |
| Polyester | Excellent | Everyday family use |
| Velvet | Good | Accent chairs |
| Outdoor Fabric | Excellent | Patio furniture |
What I Recommend
If you’re reupholstering a dining chair that gets daily use, polyester upholstery fabric offers one of the best combinations of durability, stain resistance, and affordability.
If you’re restoring a decorative chair, linen or velvet can create a premium appearance.
Choose upholstery-grade fabric rather than regular clothing fabric because it’s designed to withstand repeated use.
How Much Fabric Do You Need?
One of the most common beginner mistakes is buying too little fabric.
Use these general guidelines.
| Cushion Size | Fabric Needed |
|---|---|
| Small | ½ yard |
| Medium | ¾ yard |
| Large | 1 yard |
Always purchase a little extra fabric.
Additional material allows you to:
- Match patterns correctly
- Fix cutting mistakes
- Practice corner folds
- Save leftovers for future repairs
How to Measure a Chair Cushion Correctly
Accurate measurements make the entire project easier.
Measure:
- Width
- Depth
- Cushion thickness
Now add an extra 3–4 inches on every side.
That additional fabric wraps underneath the seat and provides enough material for secure stapling.
For example:
If your cushion measures 16 × 16 inches and is 2 inches thick, you’ll need considerably more than a simple 16-inch square because the fabric must wrap completely around the cushion.
Taking measurements twice before cutting can prevent expensive mistakes.
How to Reupholster a Chair Cushion (Step-by-Step)
Step 1: Remove the Chair Cushion
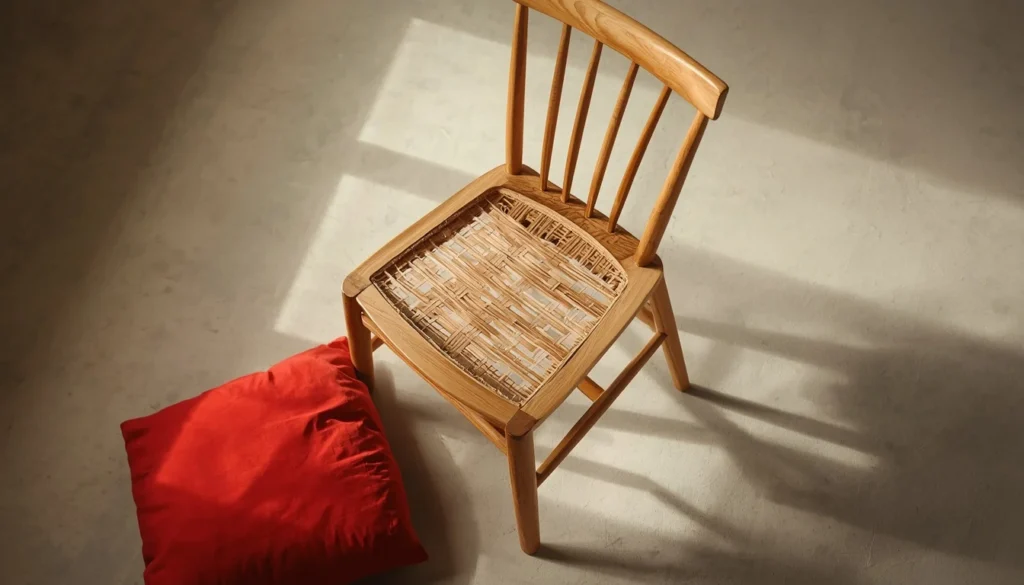
Turn the chair upside down.
Use the correct screwdriver to remove the screws holding the cushion to the frame.
Place the screws in a small container so they don’t get lost.
Before removing anything else, take a few photos.
These pictures make reassembly much easier later.
Step 2: Remove the Old Fabric
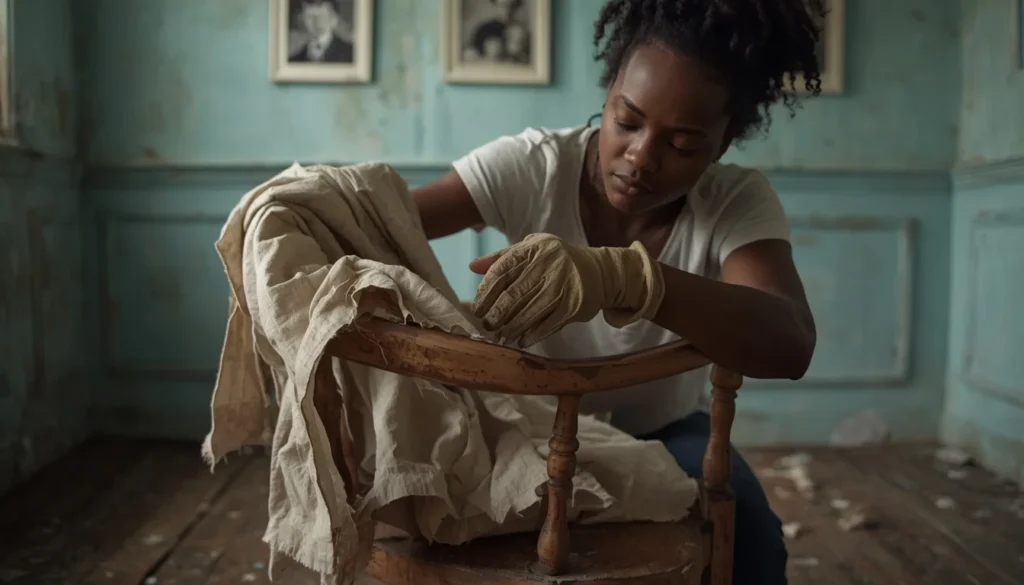
Now it’s time to remove the existing upholstery.
Use a staple remover, flathead screwdriver, or needle-nose pliers to pull out every staple.
This step usually takes the longest.
Don’t rush.
Removing staples carefully helps prevent damage to the wooden seat base.
Can You Upholster Over Old Fabric?
Technically, yes.
However, I don’t recommend it.
Leaving the old fabric underneath can:
- Create bulky edges
- Trap dirt and odors
- Cause wrinkles
- Reduce the professional appearance
Starting with a clean surface almost always produces better results.
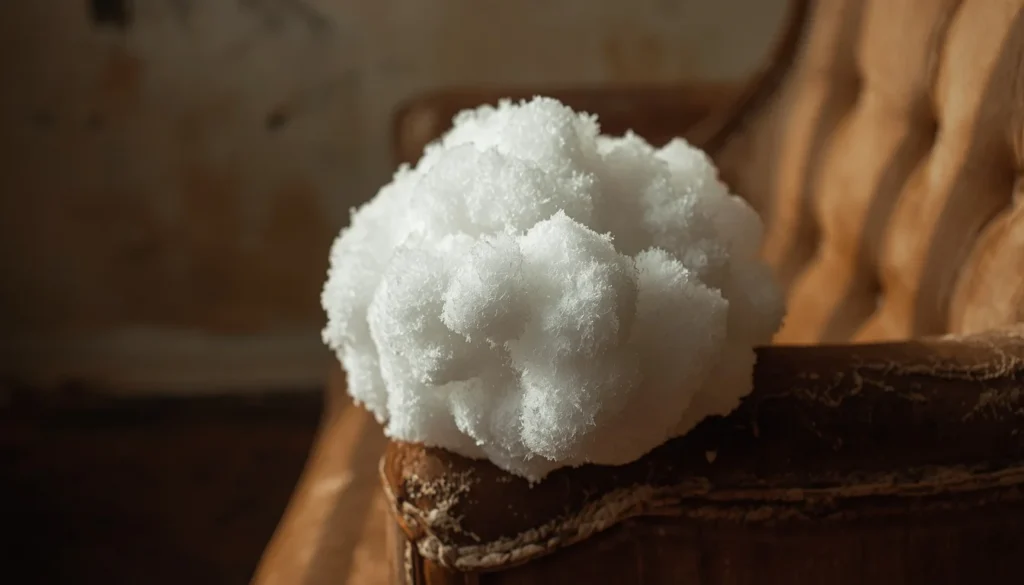
Step 3: Inspect the Foam
Now examine the cushion closely.
If the foam still springs back into shape and feels supportive, you can usually reuse it.
Replace the foam if you notice:
- Crumbling edges
- Permanent dents
- Sagging
- Bad odors
- Mold or mildew
- Uneven support
What Foam Thickness Works Best?
For most dining chairs:
- 1–2 inches works well.
For accent chairs:
- 2–4 inches usually provides greater comfort.
High-density foam generally lasts much longer than inexpensive foam.
Step 4: Add New Batting (Optional but Recommended)
Many beginners skip this step.
I don’t.
Wrapping foam with polyester batting creates:
- Softer edges
- A smoother finish
- Better wrinkle resistance
- A fuller appearance
Use spray adhesive to hold the batting in place before wrapping the fabric.
This simple step makes the finished cushion look far more professional.
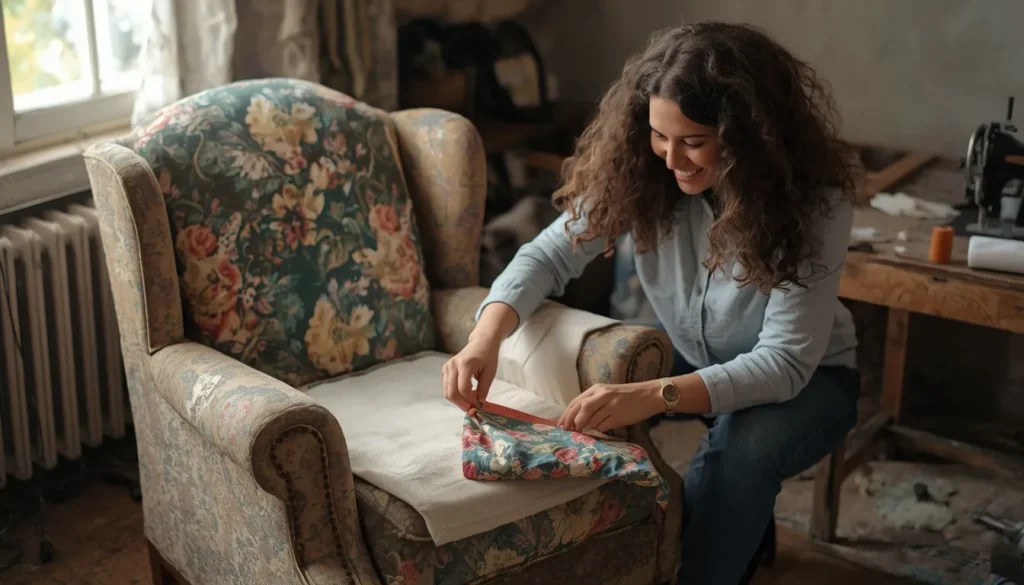
Step 5: Cut the New Upholstery Fabric
Lay your chosen fabric face down on a clean, flat surface.
Place the cushion upside down on top.
Using your measurements, mark the cutting lines.
Remember to leave several extra inches on each side.
Before cutting, double-check that any patterns or stripes are aligned correctly.
Taking an extra minute here can save you from having to buy more fabric later.
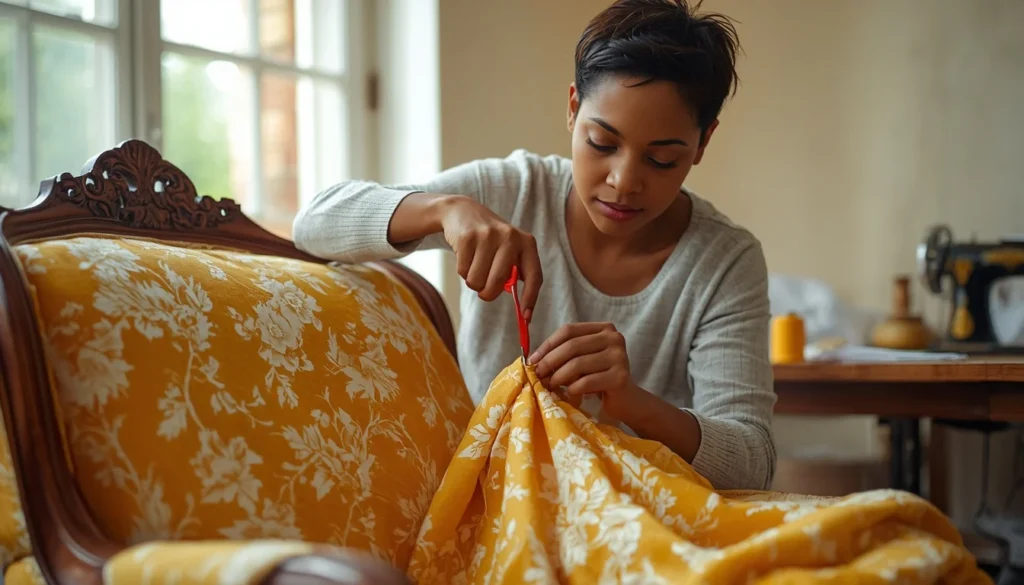
Step 6: Position the Fabric
Center the cushion carefully on the fabric.
If your fabric has a visible pattern, make sure it’s straight before you begin stapling.
This is one of the easiest mistakes to overlook, yet it’s one of the first things people notice when the chair is finished.
Take your time and adjust the placement until everything looks balanced.
Step 7: Start Stapling from the Center
Instead of stapling around the entire edge immediately, begin with the center of each side.
Follow this order:
- Center of the front
- Center of the back
- Center of the left side
- Center of the right side
Pull the fabric firmly—not excessively tight—and place one staple in each position.
Continue alternating from one side to the opposite side.
Working evenly keeps the fabric smooth and prevents wrinkles from forming.
Never staple one entire side before moving to the next.
That often causes the fabric to shift and creates uneven tension.
Step 8: Fold the Corners Neatly
Corners often determine whether a chair cushion looks homemade or professionally upholstered.
Here’s the method I use:
- Pull one side of the fabric tight and secure it with a staple.
- Fold the excess fabric into a smooth, even pleat.
- Pull the remaining fabric firmly over the corner.
- Add two or three staples to lock the fold in place.
Repeat this process for all four corners.
Avoid creating bulky folds. If there’s too much fabric, trim a small amount before making the final fold.
Step 9: Finish Stapling the Fabric
Once the corners are complete, continue stapling around the entire seat.
For the best results:
- Place staples about 1 inch (2.5 cm) apart.
- Keep the fabric evenly stretched.
- Check the front side every few staples to make sure no wrinkles are forming.
If you notice a wrinkle, remove the nearby staples and adjust the fabric before continuing.
Step 10: Trim Excess Fabric
After the cushion is fully secured, use sharp scissors to trim away the extra fabric.
Leave about ½ inch (1 cm) beyond the staples.
This creates a clean finish without leaving unnecessary bulk underneath the chair.
If desired, cover the underside with a dust cover fabric for an even more professional appearance.
Step 11: Reattach the Cushion
Position the cushion back onto the chair frame.
Line up the screw holes and tighten each screw gradually.
Avoid over-tightening because it can damage the wood.
Turn the chair upright and test it by sitting on it.
If everything feels secure and comfortable, your project is complete.
DIY vs. Professional Reupholstery
If you’re unsure whether to tackle the project yourself, this comparison may help.
| DIY Reupholstery | Professional Reupholstery |
|---|---|
| Lower cost | Higher cost |
| Learn a valuable skill | Expert craftsmanship |
| Flexible schedule | Faster if you’re short on time |
| Great for simple chairs | Better for antiques or complex furniture |
| Requires basic tools | No tools required |
For most dining chairs and simple seat cushions, DIY is a practical and budget-friendly option.
Reuse the Foam or Replace It?
Not every project requires new foam.
Reuse the Foam If:
- It still feels firm.
- It returns to shape quickly.
- There are no unpleasant odors.
- It provides even support.
Replace the Foam If:
- It has flattened over time.
- It crumbles when touched.
- It smells musty.
- It feels uncomfortable.
- It has water or mold damage.
Investing in high-density foam can significantly improve the comfort and lifespan of your chair.
Common Mistakes to Avoid
After completing several upholstery projects, these are the mistakes I see most often.
Pulling the Fabric Too Tight
Overstretching can distort patterns and put unnecessary stress on the fabric.
Not Pulling Tight Enough
Loose fabric creates wrinkles that become more noticeable over time.
Cutting the Fabric Too Small
Always leave extra material for wrapping and stapling.
Ignoring Fabric Direction
Patterns, stripes, and textured fabrics should be aligned before stapling.
Reusing Rusty Staples
Always use new heavy-duty upholstery staples.
Skipping Batting
Batting helps create smoother edges and a fuller, more professional finish.
Troubleshooting Common Problems
The Fabric Looks Wrinkled
Remove a few staples near the wrinkle, pull the fabric evenly, and staple again.
The Corners Look Bulky
Trim excess fabric and refold the corner.
The Cushion Feels Uneven
Inspect the foam to ensure it is centered before stapling.
Staples Keep Pulling Out
The staple may be too short for the seat base.
Switch to the correct staple length recommended for your staple gun.
Pro Tips for a Professional-Looking Finish
Over time, I’ve learned several techniques that consistently improve the final result.
- Begin stapling from the center of each side.
- Alternate between opposite sides.
- Keep checking the front of the cushion while working.
- Use upholstery-grade fabric rather than lightweight decorative fabric.
- Replace worn foam instead of trying to save it.
- Iron or steam wrinkled fabric before installation.
- Measure twice before cutting.
These simple habits can make a noticeable difference in the finished appearance.
“Quality is never an accident; it is always the result of intelligent effort.” — John Ruskin
How Long Does It Take?
The time depends on your experience.
| Experience Level | Estimated Time |
|---|---|
| Beginner | 2–3 hours |
| Intermediate | 1–2 hours |
| Experienced DIYer | 30–60 minutes |
Your first project will usually take the longest, but you’ll become much faster with practice.
How Much Does It Cost?
Here’s a general estimate.
| Item | Estimated Cost |
|---|---|
| Upholstery Fabric | $10–$30 |
| Foam (if needed) | $10–$25 |
| Batting | $5–$15 |
| Staples | $5–$10 |
| Total DIY Cost | $20–$80 |
Hiring a professional often costs between $100 and $300 or more, depending on the chair and your location.
Caring for Your Newly Upholstered Chair Cushion
Proper care helps your work last for years.
- Vacuum regularly.
- Clean spills immediately.
- Rotate chairs if possible.
- Avoid prolonged direct sunlight.
- Follow the fabric manufacturer’s cleaning instructions.
- Keep sharp objects away from delicate fabrics.
With basic maintenance, a well-upholstered chair cushion can remain attractive for many years.
My Experience and Lessons Learned
When I completed my first upholstery project, I underestimated how important preparation would be.
I rushed through removing the old staples and didn’t check the foam carefully. The finished chair looked better than before, but it still wasn’t as comfortable as I wanted because the old foam had already worn out.
On my next project, I replaced the foam, added fresh batting, and spent more time aligning the fabric. The difference was remarkable. The chair looked cleaner, felt more comfortable, and held up much better with everyday use.
The biggest lesson I learned is that patience matters more than speed. Taking a few extra minutes to measure carefully, fold the corners neatly, and keep the fabric evenly tensioned produces results you’ll be proud of.
“The best way to predict the future is to create it.” — Peter Drucker
Frequently Asked Questions
Can I reupholster a chair cushion without sewing?
Yes. Most chair cushions can be reupholstered using a staple gun without any sewing.
Can I place new fabric over the old fabric?
It’s possible, but removing the old fabric usually produces a cleaner and longer-lasting result.
What is the best fabric for chair cushions?
Upholstery-grade polyester is one of the best choices for durability, stain resistance, and everyday use.
How much fabric do I need?
Most chair cushions require between ½ and 1 yard of upholstery fabric, depending on their size.
Should I replace the foam?
Replace it if it’s sagging, crumbling, or uncomfortable.
Can I use a regular staple gun?
Yes, provided it is strong enough to drive heavy-duty staples securely into the wooden seat base.
Do I need batting?
Batting isn’t mandatory, but it improves comfort and creates a smoother finish.
Is it cheaper to reupholster than buy a new chair?
In many cases, yes. Reupholstering is often more affordable, especially if the chair frame is still in good condition.
How long does reupholstery last?
A properly reupholstered chair using quality materials can last for many years with normal use.
Can beginners successfully complete this project?
Absolutely. With basic tools and careful attention to each step, most beginners can achieve excellent results.
Final Thoughts
Learning how to reupholster a chair cushion is one of the most rewarding DIY furniture projects you can take on. It saves money, reduces waste, and gives old furniture a fresh, personalized look without requiring advanced woodworking or sewing skills.
Whether you’re updating dining chairs, restoring a favorite accent chair, or refreshing a bench cushion, the process becomes much easier when you work step by step. Measure carefully, choose durable upholstery fabric, inspect the foam, and take your time with the corners. Those small details have the biggest impact on the finished result.
If this is your first upholstery project, don’t worry about achieving perfection on the first attempt. Every chair you complete will improve your skills and confidence. With patience, the right materials, and the techniques covered in this guide, you can transform worn-out chair cushions into furniture that looks comfortable, attractive, and ready for years of everyday use.