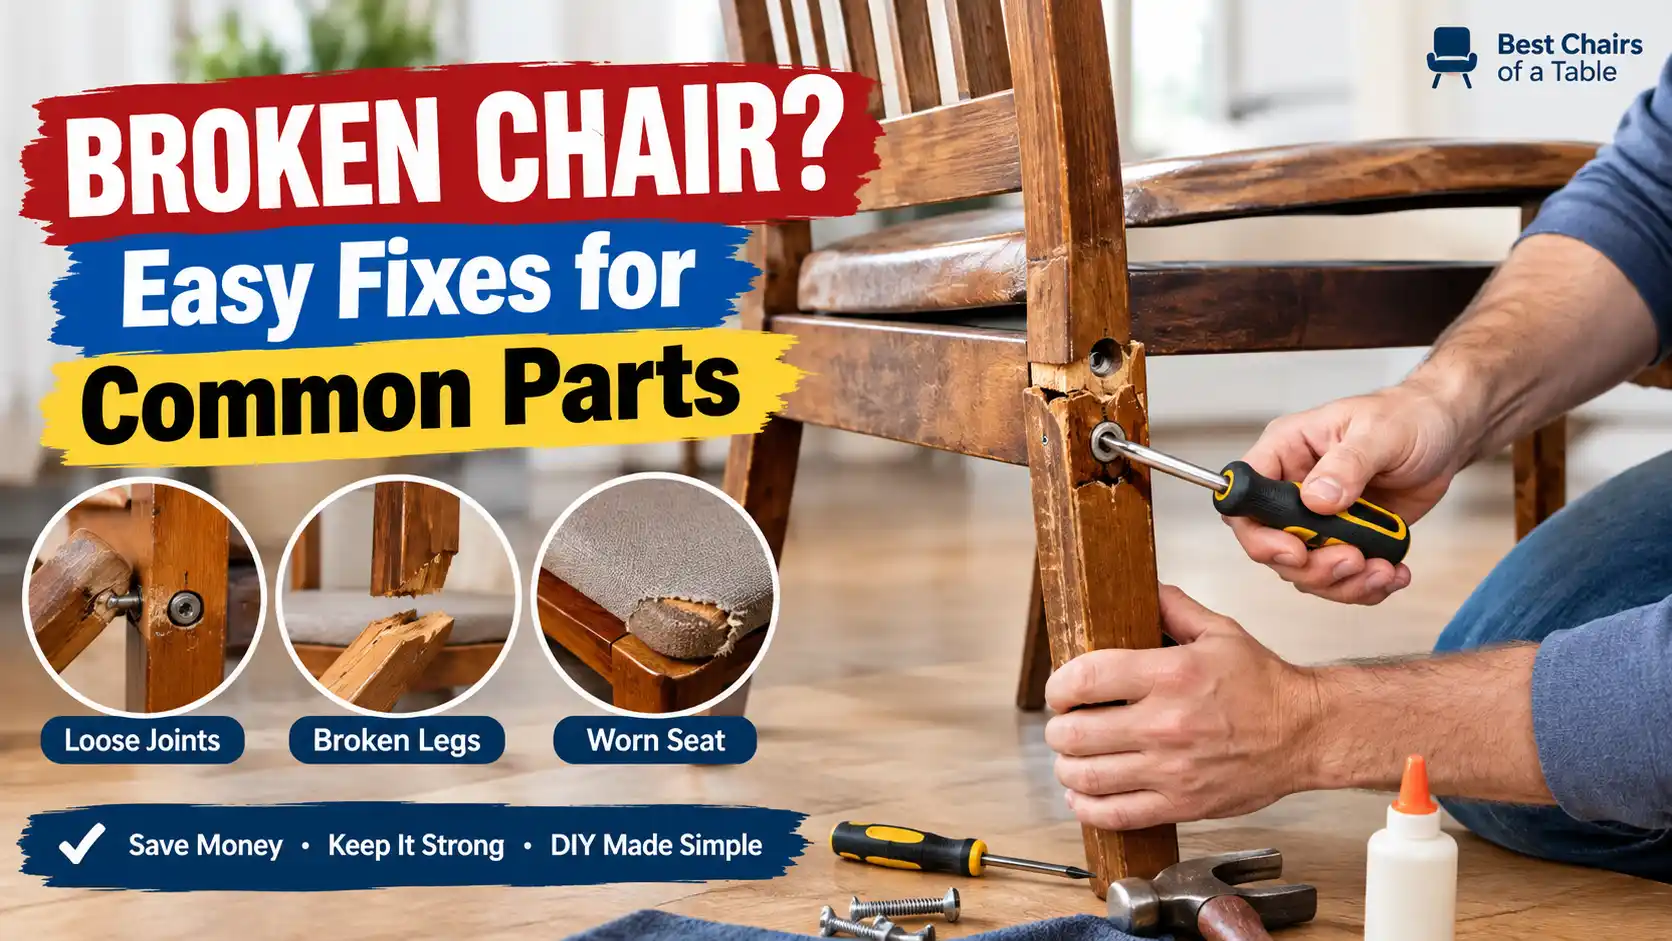
Easy Ways to Repair Broken Chair Parts fall into a handful of straightforward categories depending on what exactly failed and what the chair is made of. You can usually fix loose joints with fresh glue and clamps, seal cracks by reinforcing them, tighten wobbly metal frames, or even mend plastic arms with the right adhesive. Most repairs take under an hour and cost far less than buying a replacement.
Our research across manufacturer repair guides and woodworking standards shows that matching your fix to the break type prevents costly mistakes. Before we jump into specific methods, it helps to understand why chairs fail in the first place.
Chairs endure constant cycles of load and release. Every time you sit down, stand up, or shift your weight, stress concentrates at joints and connection points. Over months or years, this repeated movement slowly loosens adhesives and fasteners.
Wood shrinks and swells with humidity changes, which widens gaps in old joints. Metal frames develop fatigue at weld seams when bent forces compound over time. Plastic components become brittle under UV exposure or cold temperatures.
The most common failure points appear right where wood meets wood. Mortise-and-tenon joints rely on friction and glue strength to hold together. When that bond weakens, the tenon pulls free from its mortise.
Cross-rungs and stretchers act as structural ties between legs. If one loosens, the whole seat section starts to rack side to side. Leg-to-seat connections carry the heaviest loads, so they tend to fail first in everyday dining chairs.
Quick Answer
Easy Ways to Repair Broken Chair Parts mostly involve matching the right adhesive and reinforcement to each specific break type. Loose wood joints need clean surfaces, fresh PVA wood glue, and sustained clamp pressure until the bond cures. Cracked wooden legs or rungs often require a split clamp or epoxy injection to stabilise the damage before sanding and refinishing.
Wobbly metal frames usually just need tightened fasteners, thread-locking adhesive, or braised weld patches for hairline fractures. Plastic arms and seats can sometimes be bonded with cyanoacrylate or melted and fused using appropriate plastics. Upholstered chairs frequently fail where staples lose grip in softened foam or splintered wood.
The exact approach depends entirely on material, joint design, and how much stress the repaired section will face again.
Why Chairs Break (And What’s Actually Going Wrong)
Chairs endure constant cycles of load and release. Every time you sit down, stand up, or shift your weight, stress concentrates at joints and connection points. Over months or years, this repeated movement slowly loosens adhesives and fasteners.
Wood shrinks and swells with humidity changes, which widens gaps in old joints. Metal frames develop fatigue at weld seams when bent forces compound over time. Plastic components become brittle under UV exposure or cold temperatures.
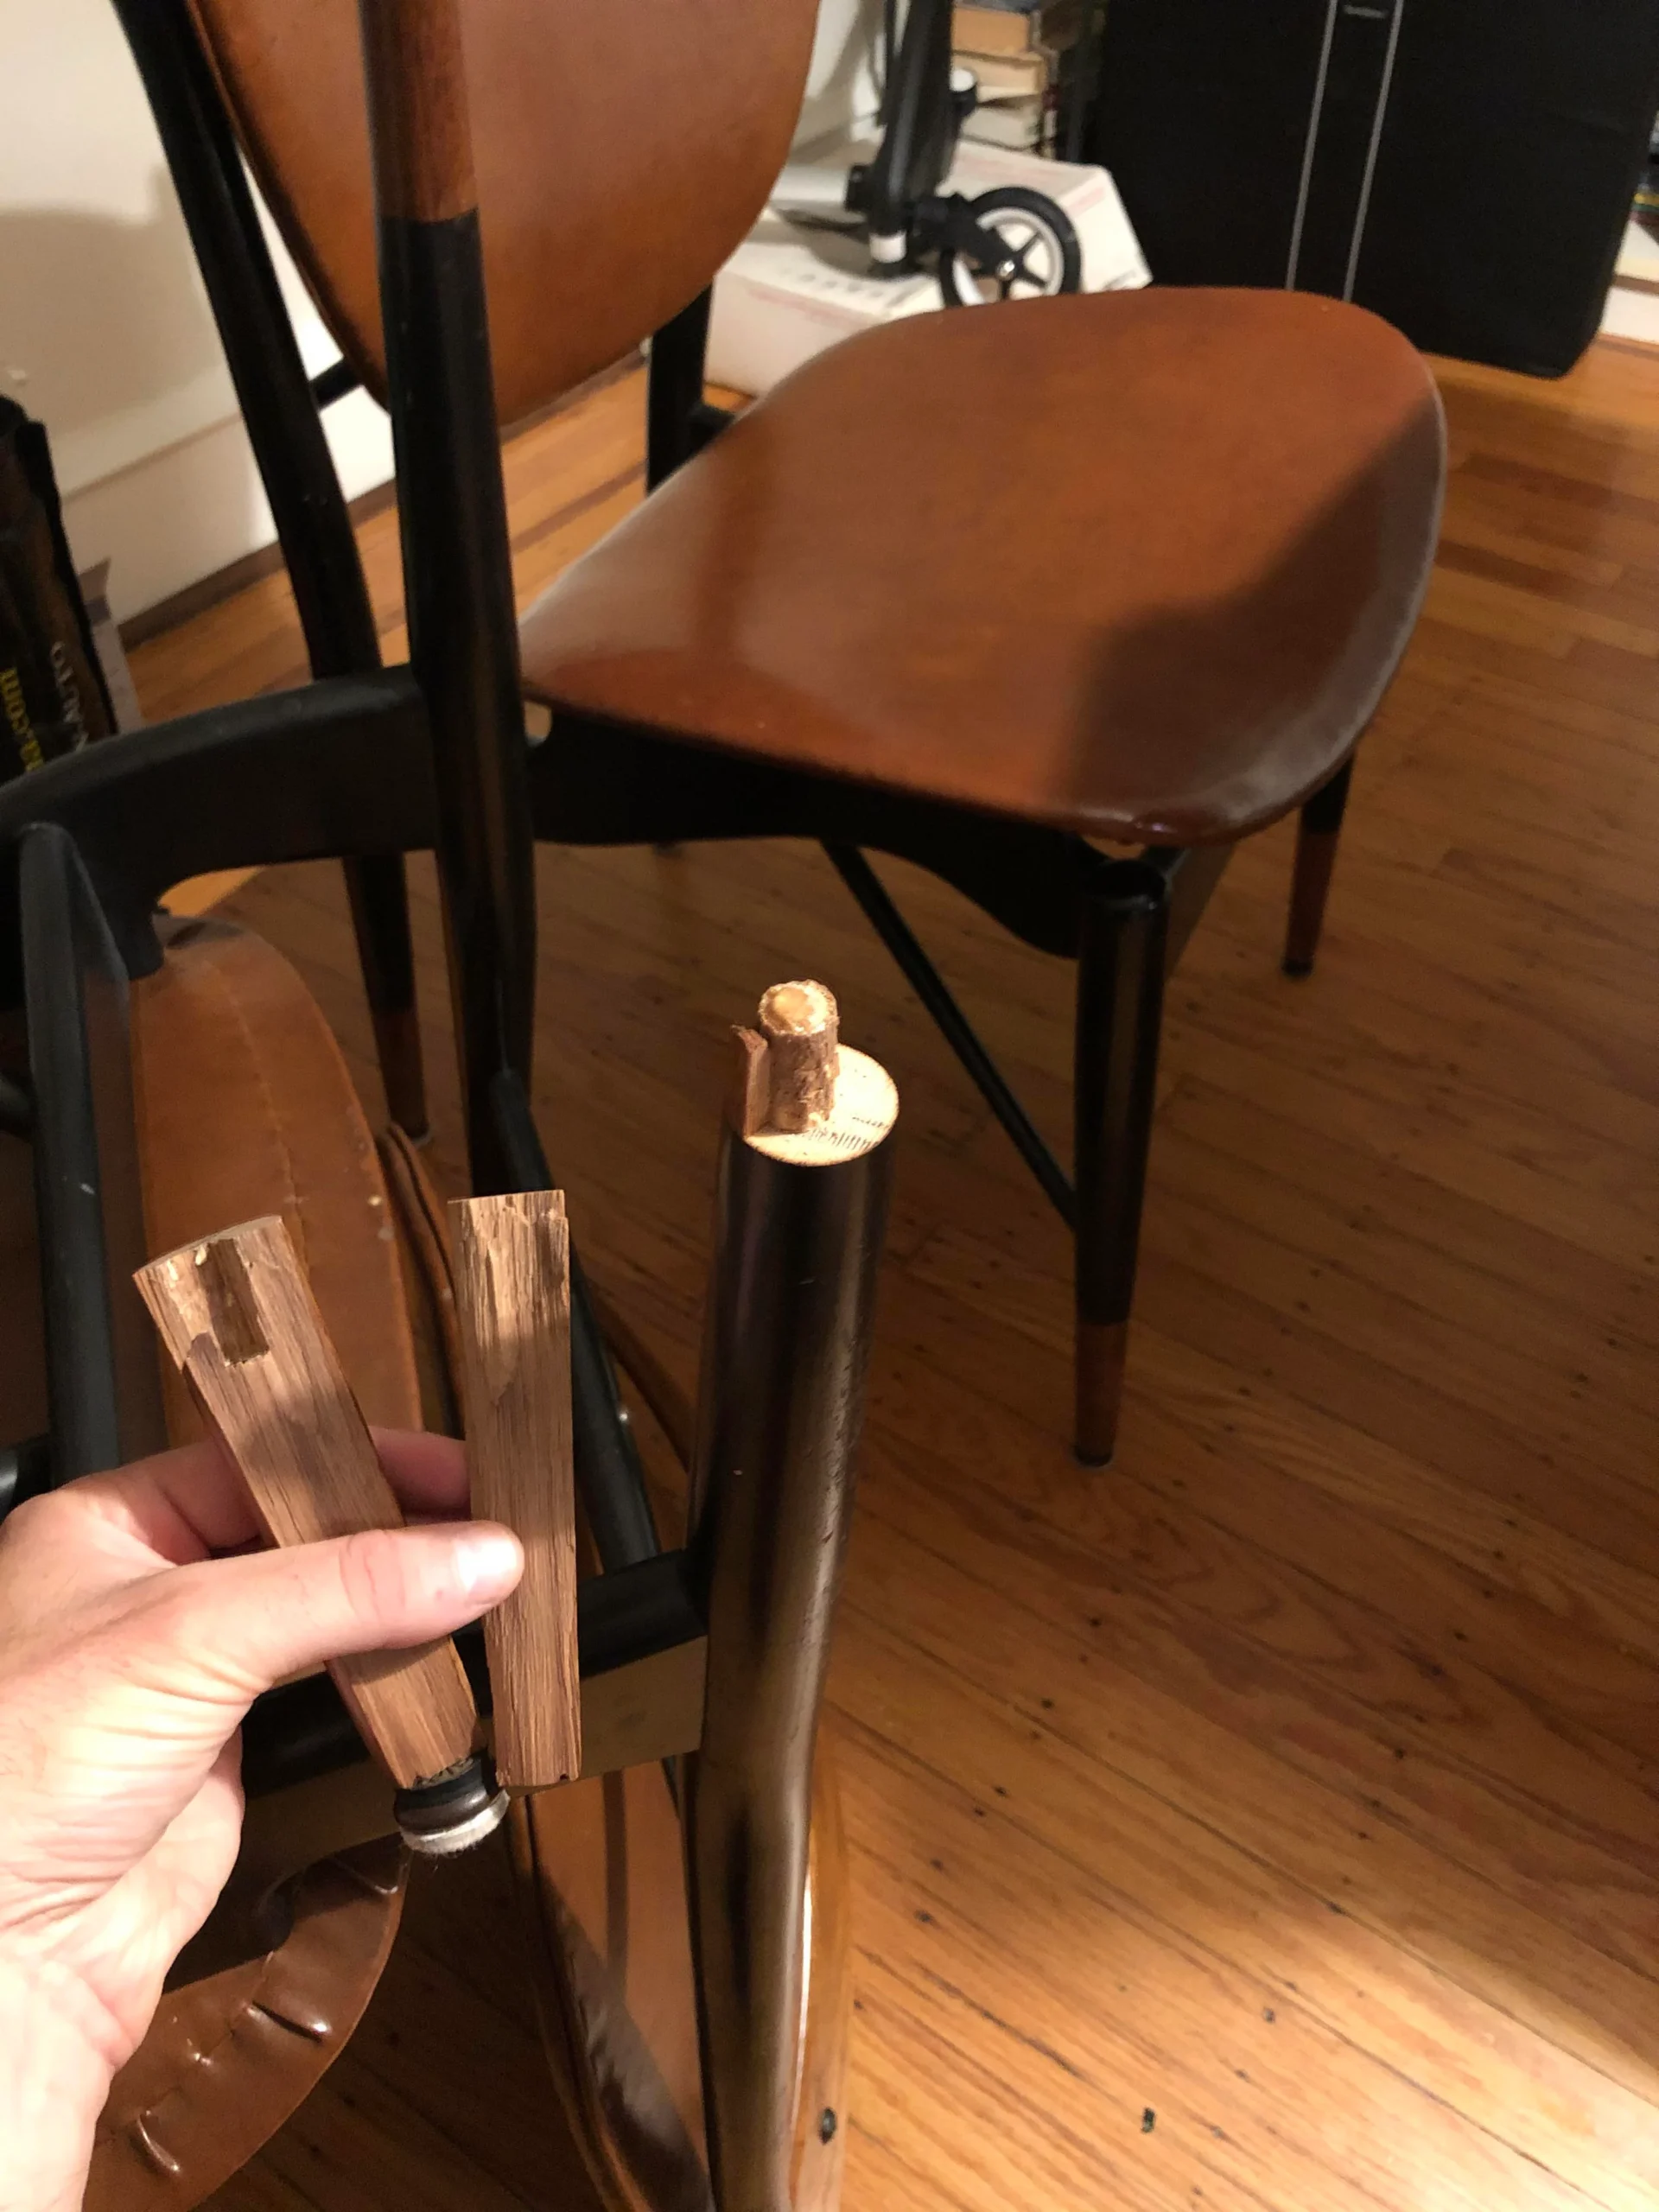
The most common failure points appear right where wood meets wood. Mortise-and-tenon joints rely on friction and glue strength to hold together. When that bond weakens, the tenon pulls free from its mortise.
Cross-rungs and stretchers act as structural ties between legs. If one loosens, the whole seat section starts to rack side to side. Leg-to-seat connections carry the heaviest loads, so they tend to fail first in everyday dining chairs.
Quick Decision Guide: Match Your Break to the Right Fix
| Symptom | Likely Cause | Best Repair Approach |
|---|---|---|
| Leg rocks side to side | Loose mortise-and-tenon joint | Disassemble, clean old glue, re-glue, clamp |
| Rung snapped cleanly | Shear failure in wood | Replace runner or sleeve tenon end with new dowel |
| Hairline crack along grain | Drying/shrinkage split | Clamp tight with glue injection, optionally spline |
| Weld cracked on metal frame | Fatigue fracture | Clean, grind, TIG or MIG weld patch, sand smooth |
| Plastic arm broken off | Snap-fit or craze failure | CA glue with microballoon filler or plastic welding rod |
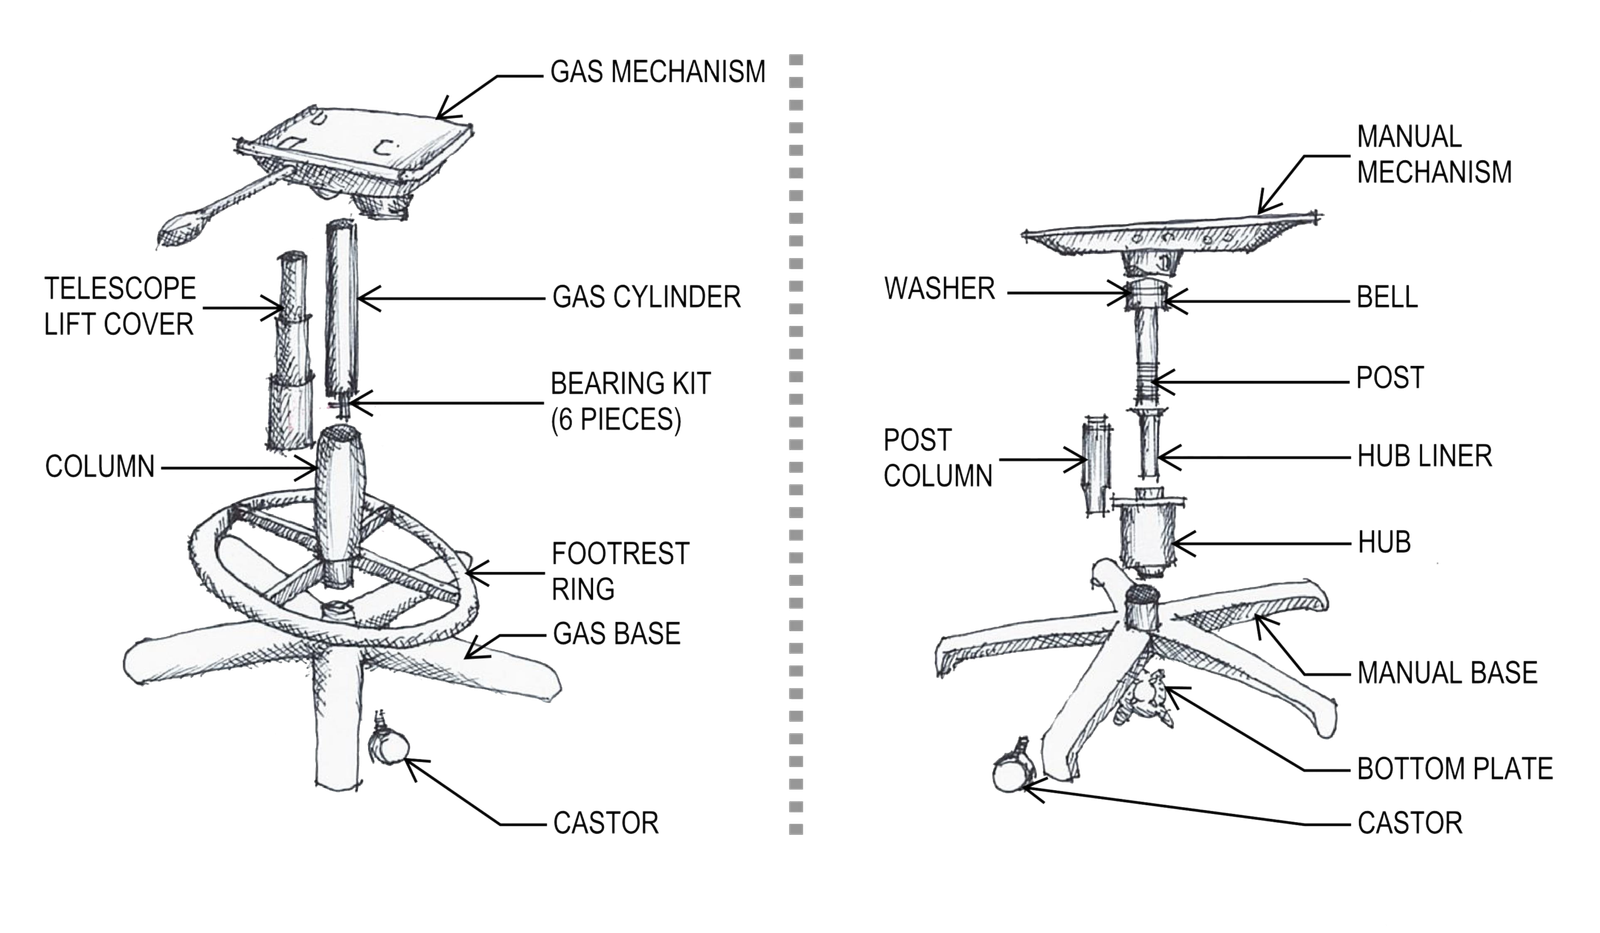
| Caster stem sheared | Metal fatigue at base | Replace caster cartridge or install insert anchor |
| Upholstery staple loose | Foam degradation or wood softening | Re-staple into solid wood, replace foam backing if needed |
If you see more than one symptom on the same chair, treat the heaviest-load point first. Always test the repair by loading the chair gradually before putting it back into regular use. For example, if your favorite ergonomic office model develops a squeaky hinge, tightening the pivot bolt may be enough, but worn bushings will need replacement rather than glue.
Similarly, understanding mobility seating replacement costs can help you weigh whether restoring an old frame makes financial sense versus investing in a purpose-built solution.
Picking Your Tools and Materials Before You Start
Buying the right supplies upfront saves time and prevents halfway repairs that fail under load. A well-stocked workshop drawer usually holds the essentials, but specific jobs call for specialised items. Here is what you will realistically need for most common chair fixes.
| Task | Essential Tools | Recommended Materials |
|---|---|---|
| Regluing loose joints | Bar clamps, rubber mallet, wire brush, glue spreader | Aliphatic resin wood glue (Titebond II or III) |
| Binding cracks/splits | Split clamp, syringe, wood caulk, painter’s tape | Epoxy filler or thin-castrate syrup injected into fissure |
| Tightening hardware | Hex key set, torque screwdriver, needle-nose pliers | Loctite 242 (medium strength threadlocker) |
| Replacing casters | Caster removal tool or rubber mallet, allen keys | Replacement stem (7/16″, 1/2″, M8, M10 common) |
| Plastic fusion/melt bonding | Heat gun, plastic welding rod, utility knife | Polypropylene (PP) or ABS welding rod matched to chair polymer |
Clamp choice matters more than most people expect. A simple spring clamp holds light pressure but cannot pull a tight joint seam. Bar clamps and pipe clamps deliver even, adjustable force across wide spans.
Strap clamps wrap around oddly shaped furniture without marring finished surfaces. For small tenon separations, spring clamps or even heavy-duty clothespins can work if the gap is minimal and you apply glue liberally.
When selecting adhesives, pay close attention to open assembly time and cure hardness. PVA glues like aliphatic resin offer about ten minutes of working time before skin forms, which is plenty for quick joinery. Epoxies typically give fifteen to thirty minutes but produce a waterproof bond strong enough for outdoor patio sets.
Cyanoacrylate bonds instantly but remains brittle, so reserve it for non-structural plastic snaps or tiny missing knobs rather than weight-bearing wooden joints. As you gather supplies, you might also find yourself comparing restoration budgets to new purchases, much like evaluating lift chair pricing trends before deciding whether refurbishment is worthwhile.
Repairing Loose or Separating Wood Joints
Loose joints are the single most common chair problem homeowners encounter. They happen because wood glue degrades over decades, humidity cycles push tenons back and forth inside mortises, and impact forces gradually chip away at the bond line. A wiggling leg or racking seat is your first warning sign.
Ignoring it turns a thirty-minute fix into a full disassembly nightmare.
Follow this workflow whenever a joint separates cleanly without cracked wood around it. First, disassemble the chair enough to expose the failing joint. Use a rubber mallet to tap tenons out of their mortises.
If the joint is glued tight, carefully score around the seam with a utility knife to cut through any hardened glue flash. This prevents tearing wood fibers when you pry pieces apart. Next, scrape and sand every mating surface until bare wood shines.
Old glue residue acts as a barrier that prevents fresh adhesive from contacting the substrate. A carbide scraper works faster than sandpaper on flat faces, while a drill-mounted wire brush reaches into corners.
Once surfaces are clean, perform a dry fit without glue. The tenon should slide into the mortise with firm hand pressure and stay put when tilted. If it falls out immediately, the mortise has enlarged and you will need to add a Wood Dowel Sleeve later.
If it fits too tightly, lightly sand the tenon shoulders until it seats about three-quarters of the way with moderate resistance. Apply a generous bead of aliphatic resin glue to both tenon and mortise walls. Reinsert the tenon and wipe away excess glue that squeezes out with a damp cloth.
Position your clamp directly across the joint, padded with scrap wood to prevent denting the finish. Tighten until you see a thin bead of glue emerge evenly around the seam. Leave clamped for at least one hour, ideally twenty-four, before removing pressure.
| Glue Type | Open Time | Full Cure | Best Use |
|---|---|---|---|
| Aliphatic resin (PVA) | 8–12 min | 24 h | Interior wood joints |
| Polyurethane glue | 5–10 min | 24 h | Moisture-exposed furniture |
| Epoxy (slow set) | 20–30 min | 24–48 h | Gap-filling, outdoor repair |
| Cyanoacrylate (CA) | 10–30 s | Instant | Small plastic patches only |
If your chair sits near a window where temperature swings are extreme, consider switching to polyurethane glue for future assemblies. It remains flexible after curing and tolerates moisture expansion better than rigid PVA. For antique furniture where reversibility matters, stick to traditional hide glue, which softens with heat and solvent so later conservators can dismantle it without damaging original wood.
Fixing Cracked or Split Wooden Chair Legs and Rungs
Split lumber tells a different story than a clean joint failure. The wood itself has fractured, usually along the grain, because drying shrinkage created internal tension or a direct impact initiated a crack. Simply gluing a wide split back together rarely works because the two halves cannot stay perfectly aligned under clamp pressure.
You need mechanical reinforcement to keep the crack closed while the adhesive cures.
Begin by assessing crack depth and width. Hairline checks thinner than a credit card often respond to thin CA syrup brushed into the fissure followed by gentle clamping. Wider splits demand more aggressive intervention.
If the crack runs the full length of a leg, brace the area with a plywood cauls that distribute clamp force evenly across the damaged zone. Spread epoxy filler along the seam, then position the cauls and tighten bar clamps in a cross pattern so pressure comes from opposite sides. Wipe away bleed-out immediately.
For decorative rungs that are cracked but still round, consider sleeving the broken section with a hardwood dowel drilled lengthwise and epoxied into place before trimming flush.
| Crack Width | Recommended Method | Estimated Cure Time |
|---|---|---|
| < 1 mm hairline | CA syrup infiltration | 10 minutes |
| 1–3 mm moderate | Epoxy injection + split clamp | 24 hours |
| > 3 mm severe | Epoxy paste + spline reinforcement | 48 hours |
| Through-and-through separation | Epoxy bed + external brace | 48 hours |
Sometimes a visible crack masks deeper damage inside the wood. Tap the area around the split with a screwdriver handle. A hollow sound indicates rot or insect exit holes that compromise structural integrity.
In those cases, reinforcement alone will not restore safe load capacity. You should replace the entire leg or splice in a new section using a scarf joint cut at a thirty-degree angle for maximum glue surface area. Scarf splices transfer load smoothly across the joint because the angled grains interlock rather than meeting at a perpendicular butt.
When you glue a scarf, clamp the entire overlap length and allow full twenty-four-hour curing before sanding and finishing.
Before attempting any major wood repair, review general guidance on chair replacement value benchmarks so you can compare your repair effort against replacement costs. If the chair is a mass-produced rental model priced far below restoration labor, investing time in a complex splice may not make economic sense. Conversely, repairing a solid oak dining chair or a cherished heirloom rocker is almost always worth the effort.
Tightening Wobbly Metal Frames and Welds

Metal chairs fail differently than wooden ones. Fractures come from cyclic bending rather than joint separation. Tube-to-tube connections rely on welds that can crack under repeated impact.
Bolted joints loosen when vibration shakes nuts loose over time. The repair path depends entirely on whether you are dealing with a loose fastener or an actual structural fracture.
Start by identifying the wobble source. Place the chair on a flat surface and press down on each corner of the seat. Watch which leg rocks or which joint flexes.
If a bolt head spins freely without tightening, the threads inside the tube have stripped. If the weld seam itself moves, the metal has fatigued and cracked. These two problems require completely different fixes.
| Symptom | Root Cause | Repair Method |
|---|---|---|
| Bolt spins without tightening | Stripped internal threads | Install helical insert or weld nut |
| Joint moves but weld intact | Loose fit between tubes | Disassemble, clean, re-weld or use threadlocker |
| Visible crack at weld seam | Fatigue fracture | Grind V-groove, TIG/MIG weld, sand smooth |
| Caster stem wiggles in socket | Worn bushing or bent stem | Replace caster or install split-ring anchor |
| Tubing bent out of true | Impact deformation | Heat straighten or replace tube section |
For stripped threads, helical inserts offer the most reliable permanent fix. Drill out the damaged threads to the insert size, tap new threads into the tube, and drive the coil insert into place. The spring-like design grips the new threads from the outside while accepting standard bolt sizes inside.
This method restores original specifications and survives heavy loads far longer than epoxy-filled holes.
When a weld has cracked, preparation matters more than welding skill. Grind away any paint, rust, or old weld material from the fracture zone until bare metal appears. Create a small V-groove along the crack to allow penetration.
TIG welding works best for thin tubing because it controls heat input precisely. MIG welding suits thicker gauge steel found on outdoor furniture frames. Always weld in short bursts to avoid warping adjacent tubes.
Let the repair cool slowly before sanding flush.
Mending Broken Plastic or Molded Components
Plastic chair damage falls into two categories: clean breaks and craze failures. Clean breaks happen when someone drops the chair or a child climbs onto the armrest with too much force. The plastic snaps along a straight line.
Craze failures appear as spiderweb cracks spreading from stress points like screw holes or hinge areas. These cracks weaken the structure gradually until something gives.

The first step is identifying the polymer type. Most molded chairs use polypropylene (PP) or acrylonitrile butadiene styrene (ABS). PP feels waxy to the touch and floats in water.
ABS rings clearly when tapped and feels harder. This matters because each plastic bonds differently. Polypropylene resists most adhesives unless you use a primer or plastic welding technique.
ABS accepts cyanoacrylate and solvent cements more readily.
For clean breaks in ABS, align the fracture faces perfectly and apply CA glue with a syringe to wick into the seam. Hold the pieces together for thirty seconds while the bond sets. For structural stress points, reinforce with a fiberglass patch bonded over the repair area using polyester resin.
This adds rigidity that pure glue cannot provide.
Polypropylene repairs require a different approach. Heat fusion works best for thick sections. Use a plastic welding rod matched to PP and a heat gun set to low-medium output.
Melt the broken edges together while pressing them into alignment. Thin sections like chair arms may need an adhesive system specifically formulated for polyolefins. Look for products labeled PP-compatible with surface prep primer included.
| Plastic Type | Best Adhesive | Welding Possible | Cure Time |
|---|---|---|---|
| ABS | CA glue, solvent cement | Yes (specialized) | Instant to 1 h |
| Polypropylene (PP) | PP-specific adhesive + primer | Yes (heat fusion) | 24 h |
| Polycarbonate | Specialized polycarbonate glue | Limited | 1–2 h |
| PVC | PVC solvent cement | Yes | 30 min |
Surface preparation determines success more than anything else. Clean the break area with isopropyl alcohol to remove mold release agents and oils. Lightly sand glossy surfaces with 120-grit paper to create mechanical咬合 for adhesives.
For welded repairs, bevel the edges to form a V-groove that increases fusion surface area. Always work in a well-ventilated space when using solvent-based products or melting plastics.
Restoring Upholstered Chair Damage (Staples, Foam, Fabric)
Upholstered chair problems usually center on three failure points: staple pull-out, foam compression, and fabric tears. Each requires distinct tools and techniques. Misdiagnosing the issue leads to unnecessary work or repairs that fail within weeks.
Staple pull-out happens when foam softens or wood splinters under repeated loading. The staple claws lose grip and pop free from the frame. You can spot this by checking for loose fabric edges or visible staple holes without hardware.
Fix involves removing compromised staples, filling old holes with wood filler or epoxy, and restapling into solid substrate. Use a 1/4-inch crown stapler rated for upholstery work. Drive staples every two inches along frame edges and every three inches across panel surfaces.
| Material Issue | Diagnosis | Repair Solution |
|---|---|---|
| Loose staples | Fabric shifts, visible holes | Remove old staples, fill holes, restaple |
| Compressed foam | Sags below original height | Replace foam batts or high-resiliency cushions |
| Torn fabric | Visible rip or hole | Patch from underside or replace panel |
| Broken torsion springs | Squeaking, uneven support | Replace spring ties or entire spring unit |
| Rodent damage | Chewed foam, nesting material | Full restoration required, not cosmetic fix |
Foam degradation follows a predictable timeline. Low-density foam loses forty percent of its thickness within three years of daily use. High-resiliency replacements last five to seven years before significant compaction occurs.
Measure original foam thickness before ordering replacements. Common densities range from 1.8 to 2.5 pounds per cubic foot for dining chairs and 3.0 to 4.0 pounds for task seating. Denser foam costs more upfront but maintains shape longer.
Fabric tears demand careful assessment. Small punctures under two inches can be patched from behind using matching material and textile adhesive. Large rips or worn seams require panel replacement.
Always photograph the original stitching pattern before dismantling. Take measurements of each fabric piece before cutting. Order replacement fabric with ten percent extra for pattern matching and mistakes.
Consider cushion reupholstery techniques for detailed methods on fabric removal and reattachment.
When working with internal springs or suspension systems, exercise caution. Torsion springs store significant energy and can snap free if released unexpectedly. Wear safety glasses and use pliers with insulated handles when cutting spring ties.
Replace broken springs in pairs to maintain even tension across the seat platform.
When a DIY Repair Isn’t Enough: Knowing the Red Flags
Some chair damage crosses the line from frustrating to dangerous. Structural failures in load-bearing components can cause serious injury if they give way while someone is seated. Learning to recognise these warning signs protects both your budget and your safety.
Watch for cracks that spread beyond the original damage zone. Hairline splits in leg tenons stay contained, but cracks running up the full length of a rail indicate deeper material failure. Test suspected areas by applying gentle pressure with your hands.
Flexing sounds or visible movement signal compromised integrity. If a joint moves more than one millimeter when you twist the seat, the repair will likely fail under normal use.
| Red Flag | Risk Level | Recommended Action |
|---|---|---|
| Crack extends through structural member | High | Replace component or seek professional restoration |
| Metal weld shows visible gap or porosity | High | Professional weld repair or frame replacement |
| Rot or soft spots in wood grain | Critical | Full part replacement, glue will not bond to rot |
| Multiple failed repairs on same joint | Medium | Investigate root cause (overload, wrong glue) |
| Antique chair with original finish damage | High | Consult furniture conservator before proceeding |
| Children’s chair with stress fractures | Critical | Remove from service immediately, replace |
Chemical damage presents another boundary where DIY ends. Solvent spills can dissolve finishes and weaken wood fibers beneath. Insect infestation leaves exit holes and frass (wood dust) around joints.
These problems require treatment before repair makes sense. Fill existing holes with appropriate wood epoxy after pest control is confirmed complete.
Professional restoration becomes necessary when aesthetic preservation matters alongside structural function. Antique chairs often contain valuable joinery techniques that modern repair methods cannot replicate authentically. Conservators use reversible adhesives and traditional methods that maintain historical integrity.
The cost ranges widely depending on piece value and damage extent, but heritage rocking chair models frequently justify professional investment due to irreplaceable craftsmanship.
If you have ever wondered about outdoor seating durability, note that those chairs face additional UV and weather stresses that accelerate failure. Regular inspection every six months catches developing problems early, before they reach the red flag stage.
Common Mistakes That Ruin Chair Repairs
Even experienced DIYers make predictable errors during furniture repair. These mistakes often stem from rushing steps or assuming all materials behave identically. Understanding what goes wrong prevents costly rework and ensures repairs actually last.
The biggest mistake involves skipping surface preparation. Applying glue to dirty, oily, or finished wood creates a bond that fails under minimal stress. Finish removers and sanding are non-negotiable before any adhesive contact.
Second largest error is using insufficient clamp pressure. Glue needs intimate contact between surfaces to form strong molecular bonds. Gaps filled with excess glue act as weak points that crack under load.
| Mistake | Consequence | How to Avoid |
|---|---|---|
| Gluing over old finish/residue | Bond fails within weeks | Strip to bare wood, sand to 120-grit minimum |
| Under-clamping joints | Weak bond, persistent wobble | Apply firm pressure until squeeze-out appears |
| Using wrong adhesive for material | Brittle failure or no bond | Match glue chemistry to substrate (wood/plastic/metal) |
| Rushing cure time | Joint opens under load | Wait full manufacturer-specified time before testing |
| Ignoring hidden damage | Repair fails again soon | Probe surrounding areas for rot, cracks, insect trails |
| Mixing wood types without accounting for movement | Joint loosens with humidity | Use flexible adhesives or allow for expansion gaps |
| Over-tightening screws | Stripped threads, cracked wood | Use torque-limiting drivers or hand-tighten with locknuts |
Another frequent error involves assuming epoxy fills structural gaps effectively. Two-part epoxies work well for filling small voids and bonding irregular surfaces, but they cannot replace proper joinery in load-bearing applications. A tenon must fit tightly into its mortise.
Epoxy filling the gap merely masks poor workmanship and will eventually crack under cycling loads.
People also overlook environmental factors during repair. Applying glue in temperatures below fifty degrees Fahrenheit slows curing significantly. Working outdoors in direct sunlight can skin-over adhesive before you position the joint.
Temperature-controlled indoor spaces between sixty-five and seventy-five degrees provide optimal conditions for most woodworking adhesives.
Don’t skip dry fits entirely. Assembling parts without glue first reveals whether joints actually align properly. You will catch tenon length errors, mortise misalignment, or unexpected gaps before committing to permanent bonds.
Dry fitting takes fifteen minutes and saves hours of cleanup when something does not go as planned.
Finally, resist the temptation to use quick-setting super glue on structural wooden joints. Cyanoacrylate remains brittle and cannot flex with wood movement. It works brilliantly for small repairs like replacing missing knobs or bonding loose trim, but it lacks the shear strength required for weight-bearing connections.
Stick to aliphatic resin or polyurethane glues for anything supporting human weight.
Making Your Repair Last: Maintenance and Prevention
A quality repair holds up much longer when you address the conditions that caused the failure in the first place. Chairs don’t break randomly. They fail because of predictable stress patterns, environmental exposure, and accumulated wear.
Understanding these factors lets you extend repair lifespan significantly.
Humidity control stands out as the single most impactful prevention measure. Wood expands and contracts with moisture changes, and this movement is what gradually loosens glued joints over years. Keeping indoor relative humidity between forty and fifty-five percent minimises seasonal wood movement.
A simple hygrometer costs under twenty dollars and tells you exactly where your home’s moisture levels sit. During dry winter months, a humidifier near seating areas prevents excessive shrinkage. In damp summers, a dehumidifier protects against swelling that can split finished wood.
| Maintenance Task | Frequency | Tools Needed | Time Required |
|---|---|---|---|
| Tighten all visible fasteners | Every 3 months | Hex key set, screwdriver | 10 minutes per chair |
| Inspect joints for wobble | Monthly | Visual check, gentle hand pressure | 2 minutes per chair |
| Replace worn glides/casters | As needed | Screwdriver, replacement parts | 5–15 minutes |
| Clean and condition wood finish | Twice yearly | Soft cloth, appropriate conditioner | 15 minutes per chair |
| Check for crack propagation | Monthly | Flashlight, magnifying glass | 3 minutes per chair |
Regular tightening catches problems before they become structural failures. Every three months, go around each chair with the correct hex keys and check every bolt, screw, and nut. Use threadlocker on metal-to-metal connections that vibrate loose frequently, such as caster stems and adjustable height mechanisms.
Apply medium-strength Loctite 242 to threads before reassembly. This blue formula allows future disassembly with hand tools while resisting vibration-induced loosening during normal use.
Casters and glides deserve special attention. Worn casters create uneven load distribution across chair legs, accelerating joint stress on one side. A chair rolling on a damaged caster forces the frame to twist slightly with every movement.
Replace cracked or stuck casters promptly. For hardwood floors, switch to soft-roll polyurethane wheels that protect surfaces and roll smoothly. For carpet, harder nylon casters prevent sinking and reduce rolling resistance.
Finish maintenance protects wood from moisture intrusion and UV damage. Wipe chairs down weekly with a dry microfiber cloth to remove dust and skin oils. Once a season, apply a quality furniture polish or wax formulated for the original finish type.
Oil-based finishes like tung or linseed benefit from periodic reapplication every six to twelve months. Lacquer and polyurethane finishes need only cleaning and occasional polishing unless scratched deeply.
If you are maintaining toddler dining seating for young children, pay extra attention to all connection points. Toddlers climb, swing, and lean in unpredictable ways that stress joints far beyond normal dining use. Check every screw and glue joint monthly throughout the first year of heightened use.
Outdoor chairs face accelerated deterioration from UV exposure, rain, and temperature cycling. Store patio furniture under cover when not in use, or invest in breathable waterproof covers. Annual inspection before summer deployment catches spring damage early.
Touch up any chipped paint or exposed wood with matching outdoor-grade sealant. Outdoor lounging chairs built for prolonged sun exposure typically use powder-coated aluminium or treated teak, both of which resist weather far better than untreated softwoods.
Preventive maintenance also means managing how people use your chairs. Discourage standing on seat edges or using armrests as footrests. These behaviours concentrate load on parts never designed for it.
Educate household members, especially children, about proper sitting etiquette. Simple habits like sitting all the way back and keeping feet on the floor reduce cumulative stress on legs and stretchers dramatically.
Chair Repair FAQs
How long does wood glue need to cure before the chair is safe to use?
Most aliphatic resin wood glues reach handling strength within thirty to sixty minutes under clamp pressure. Full structural strength develops over twenty-four hours at room temperature. You can safely test a repaired joint by applying gentle body weight after four hours, but avoid heavy loading, rocking, or twisting forces until the full twenty-four hour cure completes.
Cold temperatures below sixty degrees Fahrenheit extend cure times significantly. Polyurethane glues require slightly longer, often needing thirty-six hours for maximum strength. Always follow the specific manufacturer instructions printed on your adhesive bottle.
Can I fix a broken chair leg without removing the entire chair apart?
Small breakages sometimes allow repair in place if you can access the fracture zone sufficiently. A clean snap near the leg bottom can accept CA glue injection and clamping with a pipe clamp wrapped around the leg. However, most leg failures occur at joint connections where the tenon pulls from the mortise.
Those repairs absolutely require partial or full disassembly to clean old glue and achieve proper alignment. Trying to glue a separated joint without disassembly leaves trapped air and old residue that creates a weak bond. Work patiently on disassembly.
It saves time and guarantee results far better than rushed in-place fixes.
What is the strongest method for repairing a split wooden chair rail?
Splitting along the grain ranks among the toughest common repairs because clamping flat surfaces together is physically difficult. The strongest approach combines glue injection with mechanical reinforcement. Clamp the split tightly using a split clamp or rubber bands wrapped around the rail to pull faces together.
Inject thin aliphatic resin or epoxy into the fissure using a syringe or nozzle bottle. After the primary repair cures, drill a shallow pilot hole along the split and drive in a hardwood dowel or spline for additional shear strength. This dual strategy addresses both the cosmetic crack and the structural weakness.
For severely split rails, splining with a matching wood insert offers the highest load capacity short of complete replacement.
Is it safe to repair a children’s chair with structural cracks?
Structural integrity matters most for children’s furniture because kids apply unexpected dynamic loads while climbing, bouncing, or leaning. Any crack in a load-bearing member such as a front leg, seat rail, or rung that supports body weight demands serious evaluation. Hairline surface checks in non-structural decorative elements pose minimal risk.
However, cracks propagating through structural wood, especially near joints, indicate material fatigue that glue alone cannot reliably restore. When in doubt, remove the chair from service immediately. Consult a professional furniture restorer for antique pieces or replace the damaged component entirely.
Child safety standards referenced by the Consumer Product Safety Commission emphasise that repaired seating must meet the same stability requirements as new products. See https://www.cpsc.gov for current children’s furniture safety guidelines.
How do I choose between epoxy filler and wood glue for gap-filling repairs?
Epoxy filler excels at bridging gaps wider than two millimetres where standard wood glue cannot span the void effectively. It remains flexible enough to absorb minor wood movement and adheres well to dirty or slightly moist surfaces. Standard PVA wood glue requires tight joint contact, ideally less than half a millimetre gap, for optimal bond strength.
If your tenon has enlarged inside an ovalled mortise, epoxy paste fills the excess space while still creating a durable bond. For clean joinery with properly fitting parts, stick with aliphatic resin glue because it bonds directly to wood fibers and remains reversible with heat and moisture during future restoration work.
When should I replace chair casters instead of repairing them?
Replacement becomes necessary when the caster stem is sheared, the wheel bearings are seized irreversibly, or the housing is cracked. Minor issues like loose mounting screws, noisy bearings, or worn wheel treads sometimes respond to cleaning and lubrication. However, stem diameter mismatch between old and new casters complicates replacement on older chairs.
Measure your existing stem carefully before purchasing. Common sizes include seven-sixteenths inch, one-half inch, and metric M8 or M10 variants. Specialty chairs like rolling office models or heavy commercial seating sometimes require proprietary caster designs available only through manufacturer channels.
Checking ergonomic office chair replacement parts availability before selecting an office chair can save frustration later.
How do I know if a cracked weld on a metal chair can be safely repaired by welding?
Hairline cracks in non-critical decorative tube joints often repair successfully with careful TIG or MIG welding followed by grinding. However, cracks appearing at primary load-bearing welds, especially where seat supports connect to front legs, require professional assessment. Fatigue cracks propagate internally beyond visible surface indications.
A certified welder can perform dye penetrant testing to reveal subsurface crack extension that determines whether patch welding restores adequate strength or whether the entire frame section needs replacement. Do not attempt structural weld repair yourself unless you possess verified welding certification and appropriate equipment. A failed weld under seated weight causes immediate collapse risk.